CAN-Bus Logger
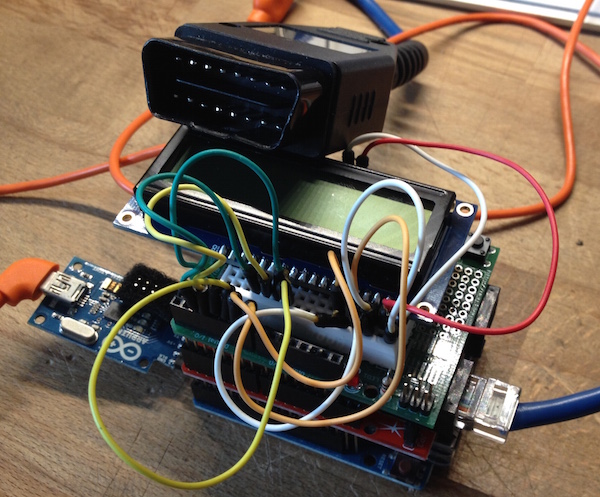
First of all, I bought these things:
- an Intel Galileo board (replaced later by an Arduino Ethernet),
- a CANdiy shield,
- a 16x2 LCD display and
- an OBD2 connector.
Once assembled I connected the CANdiy shield where I used the CANBUS library in order to access it. Note that the CS pin is located on digital pin 10. Instructions on how to connect the shield to the car can be found here.
After hooking up the LCD display and finding out that it does not work on the Galileo board, I switched to an Arduino Ethernet. My goal was to use the LCD to display some information received from my car.
I hesitated a lot to connect my device to my car because I didn''''t want to break anything on the latter, but finally, after having controlled once more all the connections, I took the risk ... and it worked! My car was speaking to me ;-)

After getting the first data I quickly realised, that the 16x2 display was far to small to display the entire CAN messages so I replaced it by a 20x4. Applying a filter to only show selected PID''''s I was able to verify some of Alexandro Moleiro''''s work.
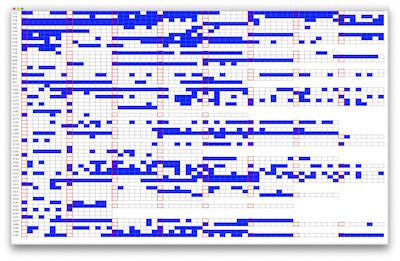
The next step was to start decoding the messages in order to find what bit indicates what value. For this, the LCD is no good choice, as I can''''t display all the PID''''s at the same time. Thus I programmed the Arduino to pass all messages to its serial port which I read out on my computer using a little Java application. For the communication I used JSSC as the RXTX library is simply too old and too slow.

The very first version of the analyser appplication displays all bits on screen with the related PID''''s. A later version allowed to:
- group bits together and display their decimal value,
- automatically save & load previous data,
- display a real fat label in case I want to montior a single group,
- fade out bits that have not changed recently so the ones that change will flicker up on each change of their state.
Using my analyser application, I already was able to determine some of the PID''s.

