RC Car
Day 1
Some day ago I found an interesting RC car on the recycling center. Unfortunately the remote controller was missing.
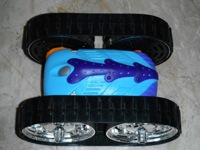
After opening the car, I noticed that:
- there was a standard 7.2 V Ni-Cd battery pack inside,
- the car is being driven by two DC motors,
- the DC motors are controlled by 4 pins cmoing out of an IC.
I started unsoldering the entire radio-controller from the PCB, leaving only the motor controller circuit. I connected the four pins, each one controlling either the forward or the backward movement of one of the motors to the Arduino.
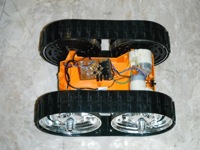
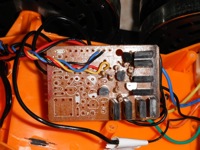
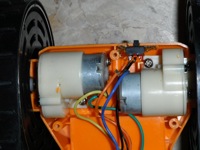
I also move the on/off switch to the back of the car, as I don't like it when can't remove entirely the top of the case. I had to place the Arduino itself to the other side of the car, just on top of the battery pack.
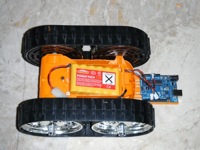
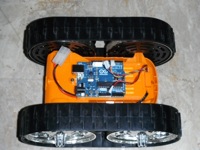
Day 2
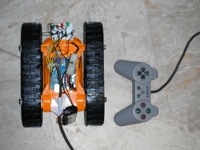
The next think I'll try to do, is add some sensors so that the car can drive by it's own but until there, I connected an old PS2 controller to it. Doing the first field test, I noticed that the Arduino was resetting itself each time the motors requires a lot of power. This is why I ended up to feed the Arduino using a supplementary 9V battery instead of connecting it to the internal battery pack. Maybe some day I'll know how to solder some kind of QOS making shure the Arduino always gets as much power as needed. The LED's in front of the car just helped me debugging the situation ...
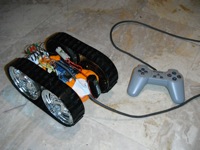
Day 3
Today I move the Arduino from the top to the bottom of the car. In order to free up some space in the lower part of the car body, I cut off the part of the motor steering PCB that was occupied originally by the radio receiver circuit. The so reduced PCB could easily be moved to another place, leaving enough space for the Arduino to fit into it's new location.
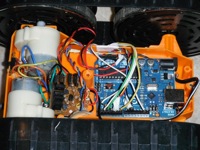
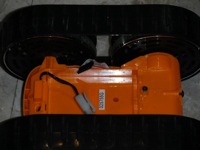
The two connectors you can see on the right image are the one for the battery and the one to connect my PS2 controller to.
Day 4
As the motors have some influence on the Arduino, which makes it shutdown, I had to investigate on possible solutions. The motors are allready equiped with capacitors in order to suppress their EMF. I now added a diode between the Vcc and the motor steering circuit to cut out the back EMF when the motors stop. This is definitely not the usual way to archive this, but actually the simplest to solder and it seams to work.
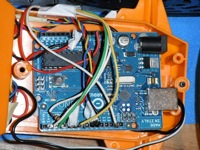
Day 5
Not wanting to have a cabled remote control, I ordered two transreceivers as well as an Arduino Pro 5V, which is again somewhat smaller than the standard Arduino Uno.
Day 7
I finally got my Arduino Pro as well as some RFM12BS radio transceivers. I managed to control the car wirelessly using a second Arduino onto which I connected my PS2 controller.
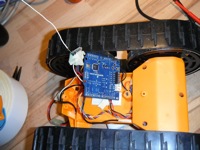
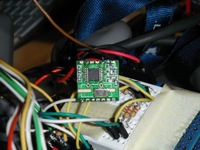
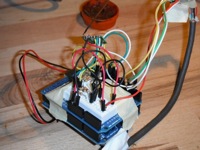
Everthing is working fine, but I've still some issues with the transmission when the car gets away more than 10 meters. I suppose I have to rebuild the antennas. Probabely they are not at the exact size.
Later
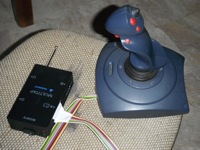
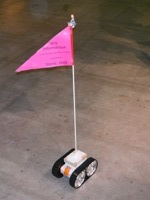
I've build a more robust remote control using an old Playstation 2 Multitap onto which I've connected a newly found Nintendo joystick. I've also integrated a powe switch, a power indicator LED as well as a transmit status LED. Some days later I used my car as eye-catcher on the "Foire de l'étudiant 2011", where a lot of people gazed at it.
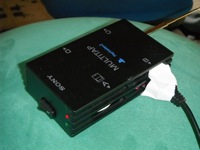
I've also investigated on adding a camera and a display on the remote control, but the wireless connection is to slow to transmit an image and steering information. Taking into consideration that the car is quite fast, an image being updated every 3 seconds is far to slow. I think I will build some kind of WiFi car.
Much later
I've found a new joystick, which is this time potentiometer based, so it allows me to control the speed not by pressing a button but by moving the stick more of less to the front or to the back. The drawback of this joystick is, that I had to implement some kind of auto calibration.
